
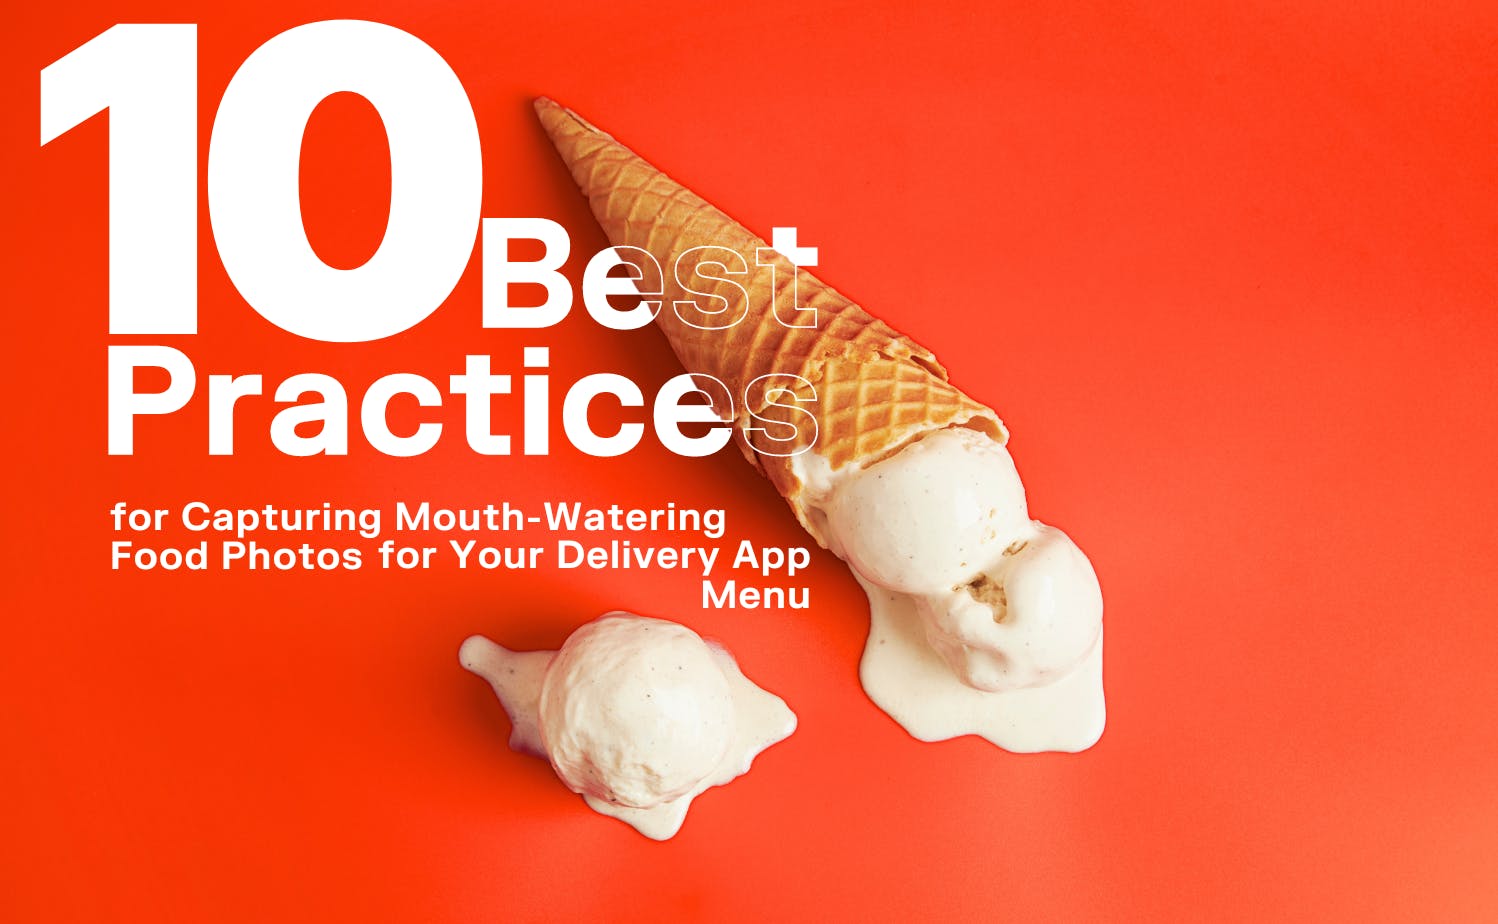
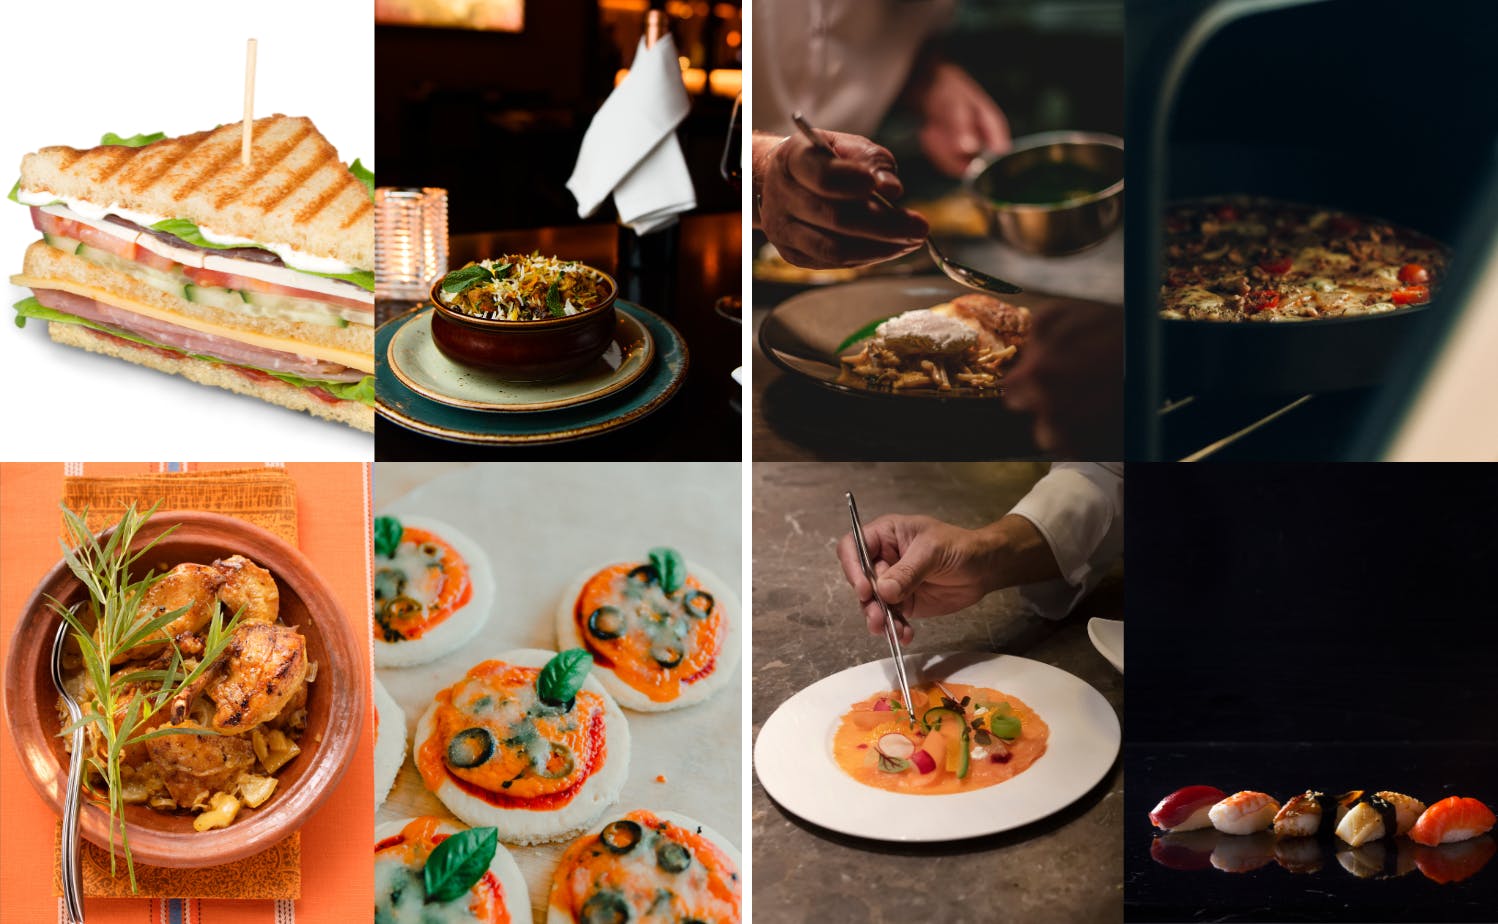
10 Best Practices for Capturing Mouth-Watering Food Photos for Your Delivery App Menu
Creating mouth-watering food photos for your delivery app menu is essential to attract customers and drive sales.
Creating mouth-watering food photos for your delivery app menu is essential to attract customers and drive sales. High-quality images not only enhance the visual appeal of your menu but also influence purchasing decisions. Here are ten best practices for capturing stunning food photos that will make your dishes irresistible.
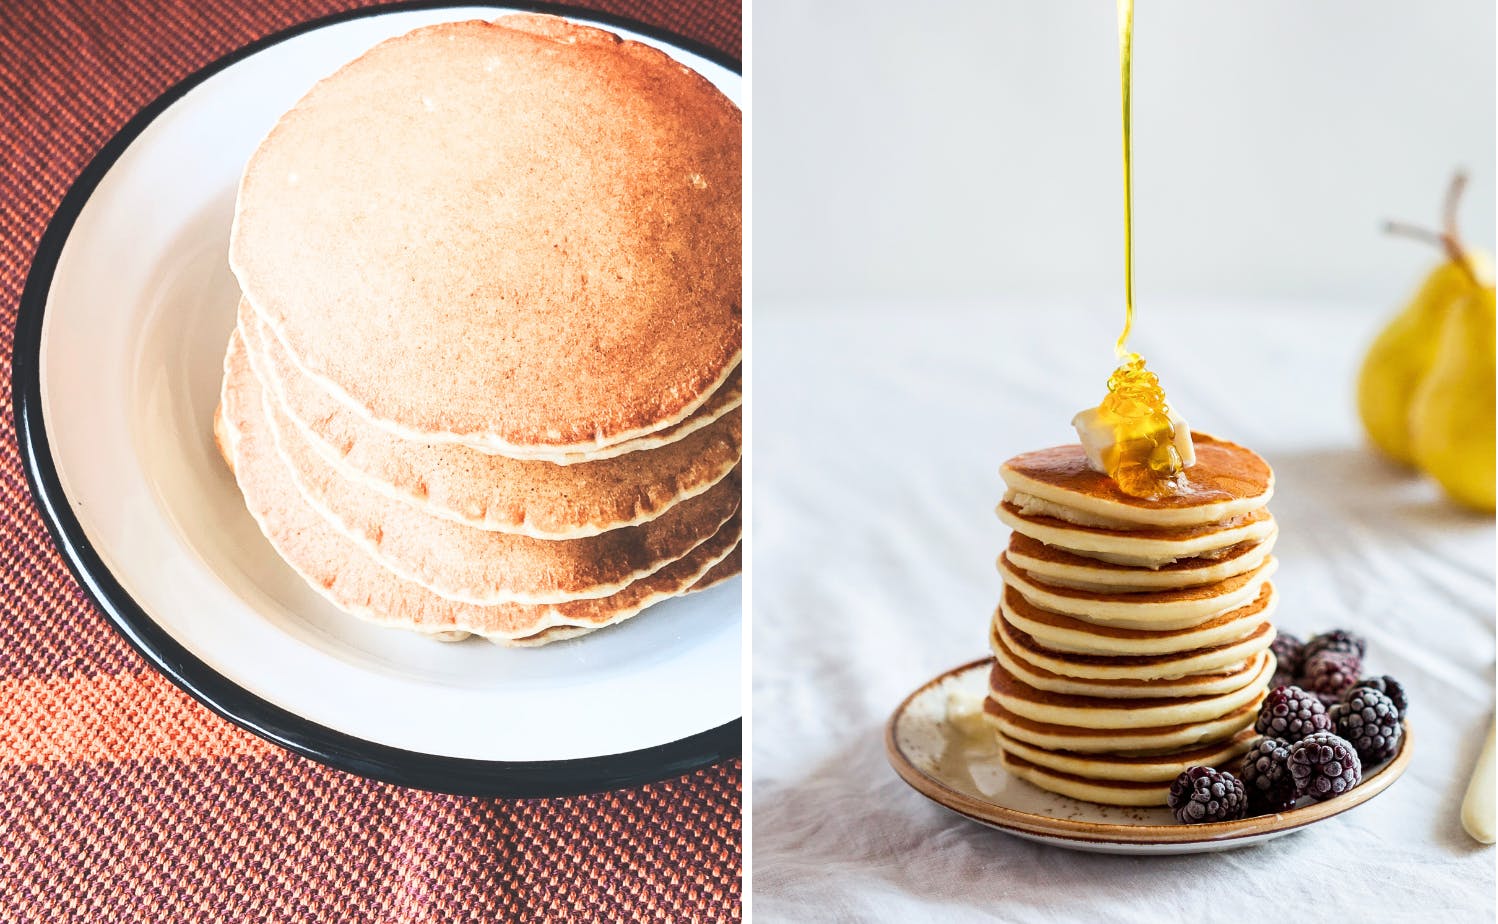
1. Use Natural Lighting
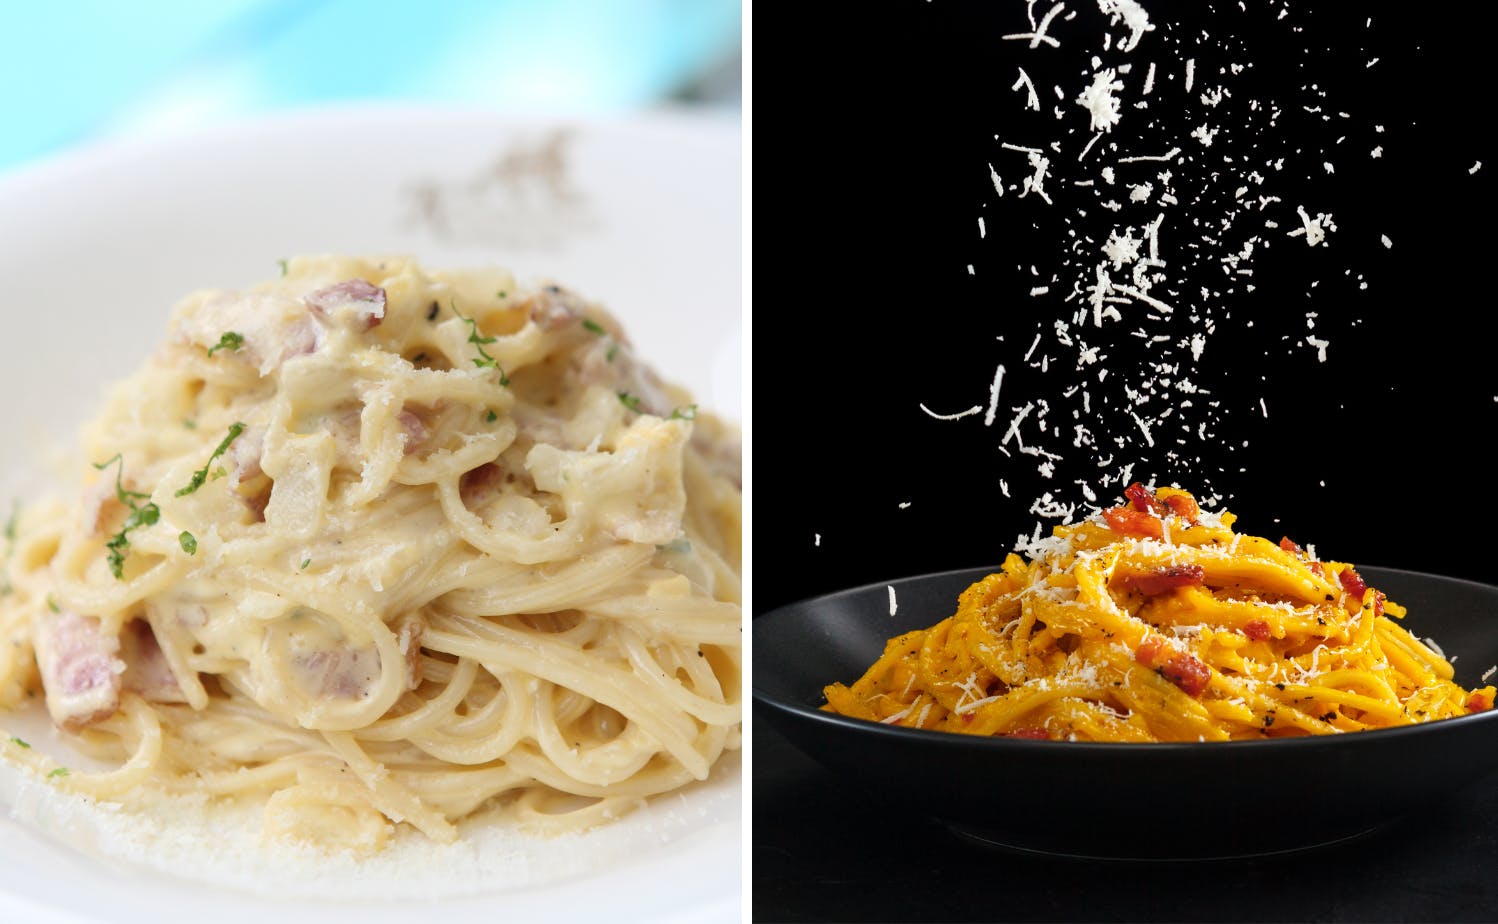
Natural lighting is your best friend when it comes to food photography. It brings out the true colors of the food and creates a soft, appealing look. Place your dishes near a window to capture the best light, and avoid using harsh overhead lights or flash, which can create unflattering shadows.
Before-and-After Example:
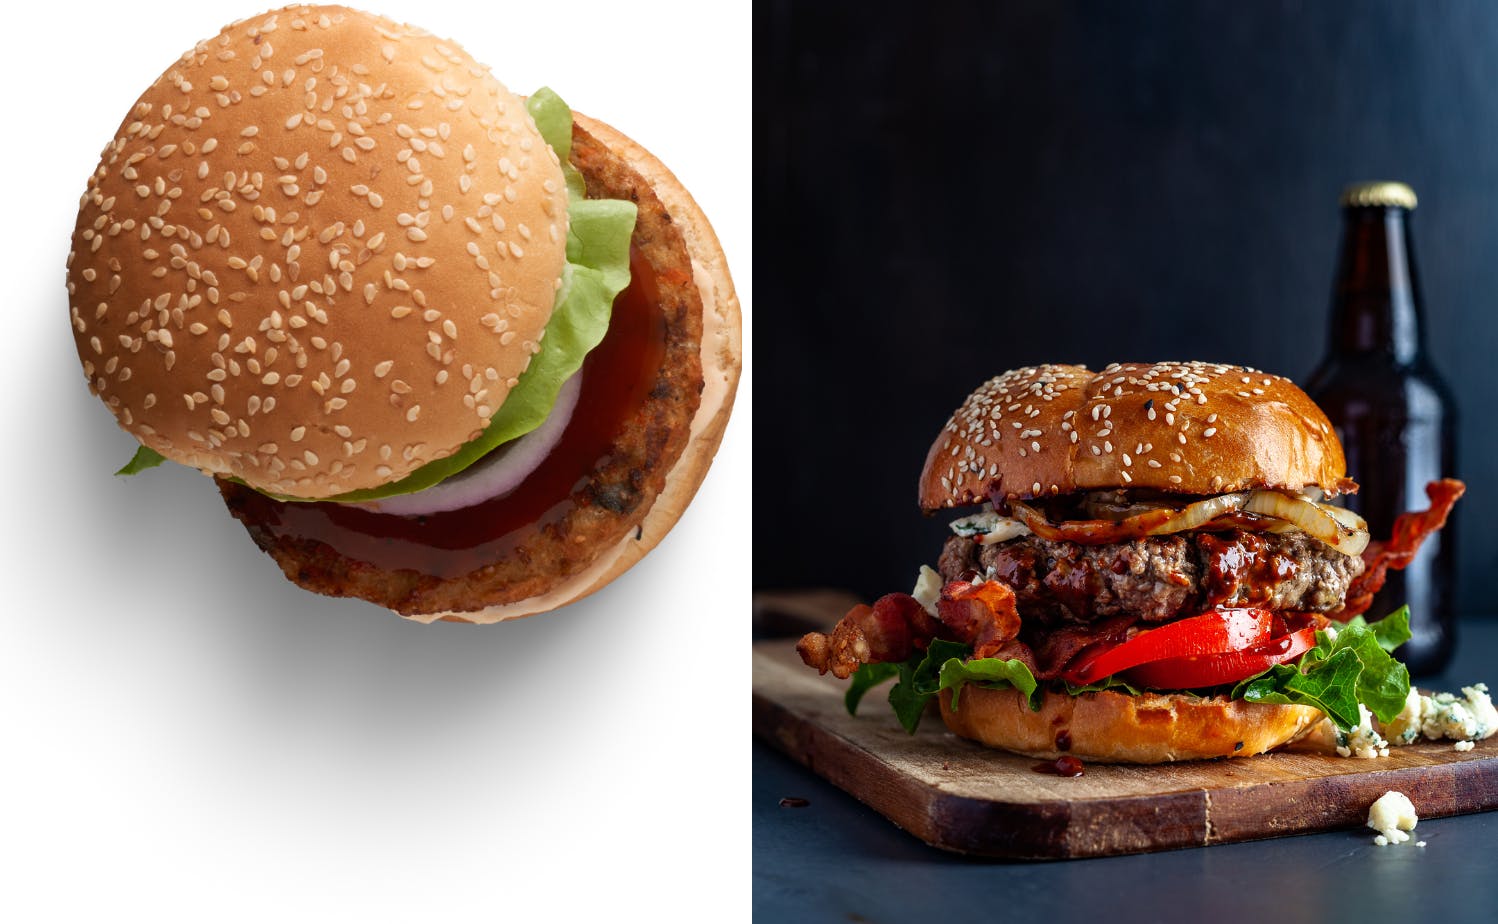
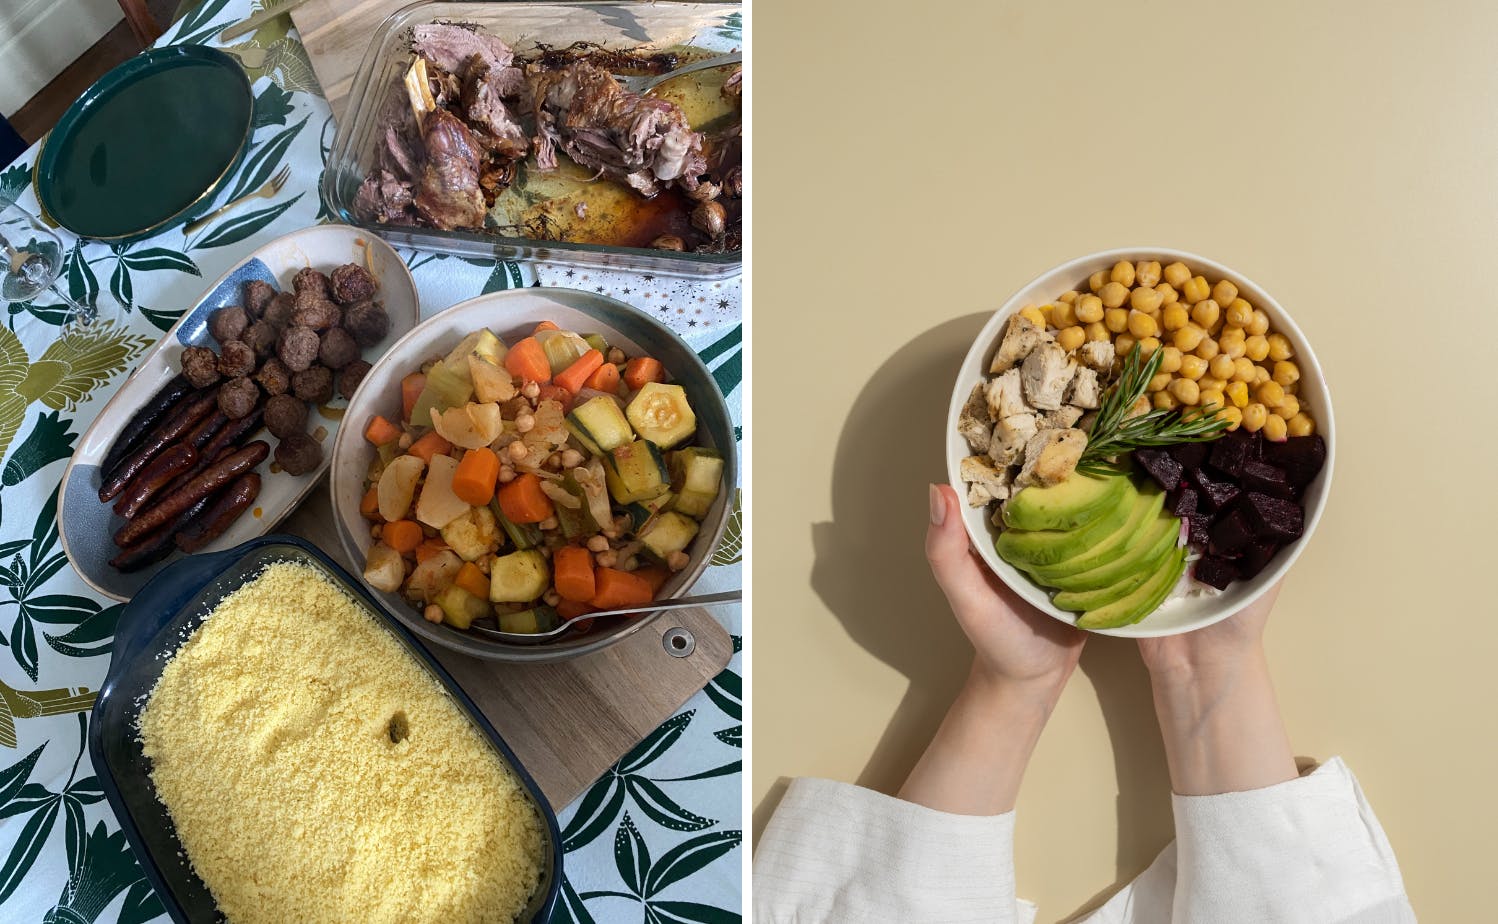
2. Choose the Right Angles
The angle at which you photograph your food can make a significant difference. Popular angles include:
- Overhead (90 degrees): Great for flat lays and dishes with multiple elements.
- 45 degrees: Ideal for capturing the depth and texture of the food.
- Eye level: Best for foods that have height, like burgers or layered desserts.
Before-and-After Example:
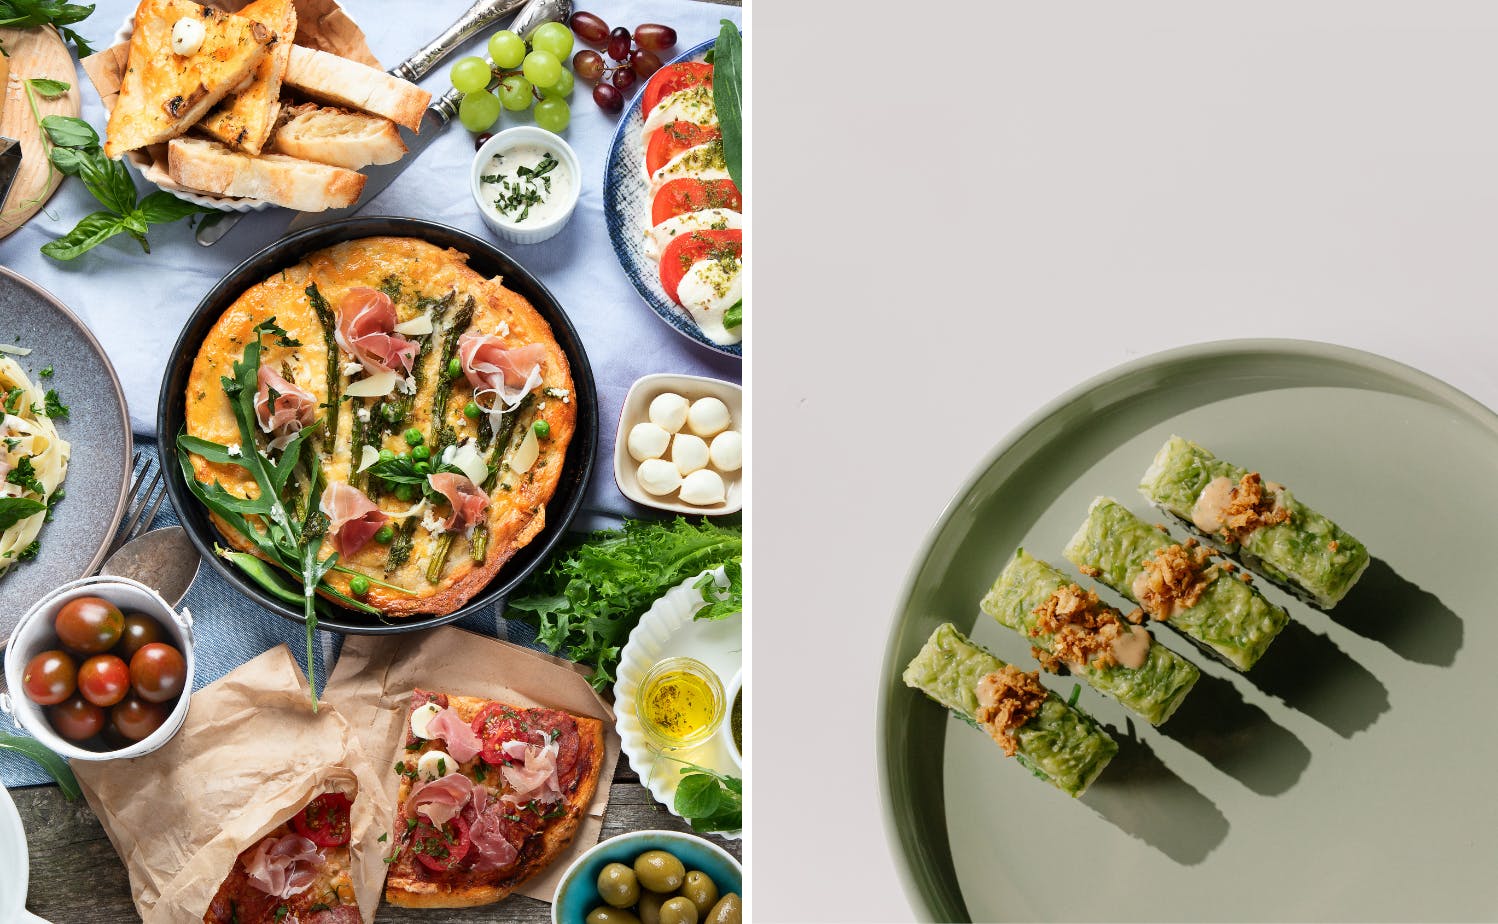
3. Focus on Composition
Composition refers to how elements are arranged in the frame. Use the rule of thirds to place the main subject off-center, creating a more dynamic and visually appealing photo. Additionally, leave some negative space around the food to avoid a cluttered look.
Before-and-After Example:
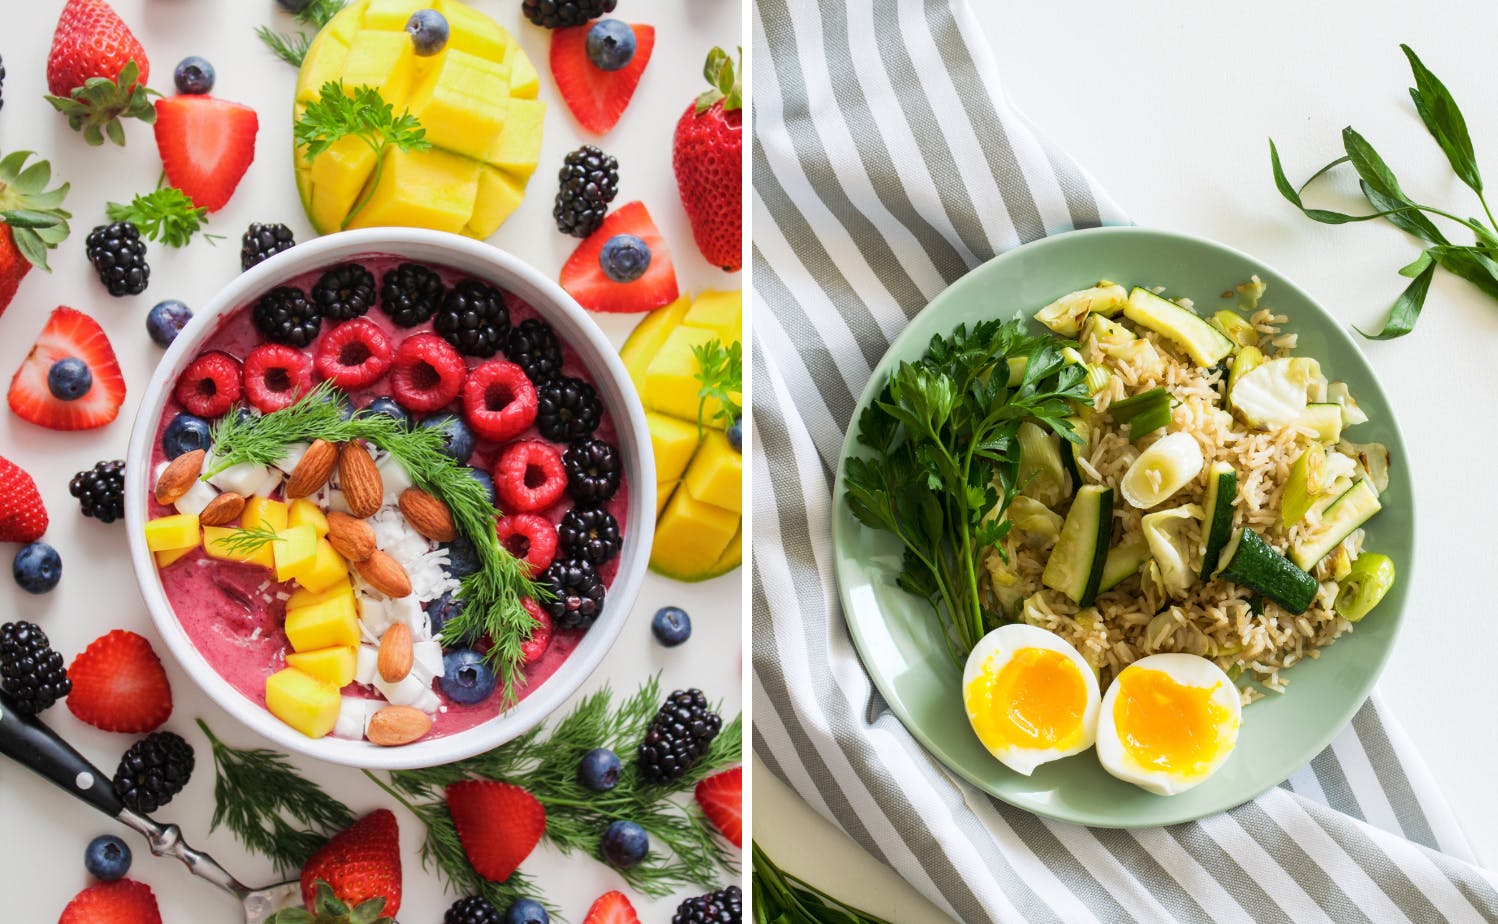
4. Pay Attention to Backgrounds
The background should complement the food without distracting from it. Use simple, neutral backgrounds like wooden tables, marble surfaces, or plain linens. This helps keep the focus on the food while adding to the overall aesthetic.
Before-and-After Example:
5. Use Props Wisely
Props can enhance your food photos, but they should be used sparingly. Choose props that complement the food, such as utensils, napkins, or ingredients used in the dish. Ensure that props do not overshadow the main subject.
Before-and-After Example:
6. Focus on Food Styling
Proper food styling is crucial to make the dish look its best. Pay attention to details like garnishes, sauce drizzles, and fresh ingredients. Use tweezers or small brushes to place elements precisely.
Before-and-After Example:
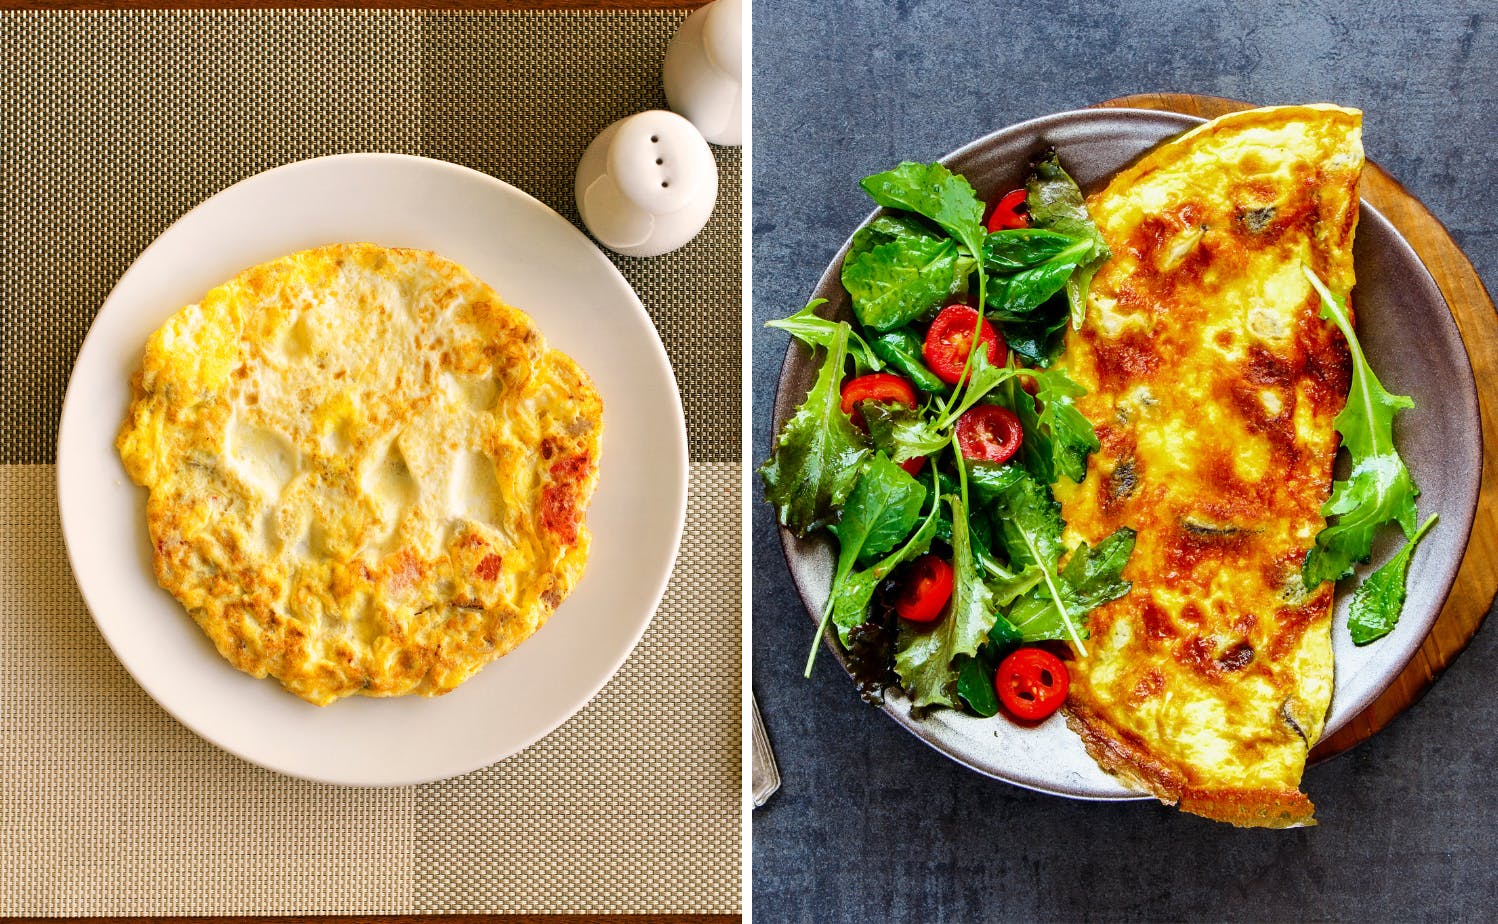
7. Highlight Textures and Colors
Make sure to capture the textures and vibrant colors of the food. This can be achieved by adjusting the lighting and using close-up shots. Textures like crispy crusts, juicy meats, and creamy sauces should be clearly visible.
Before-and-After Example:
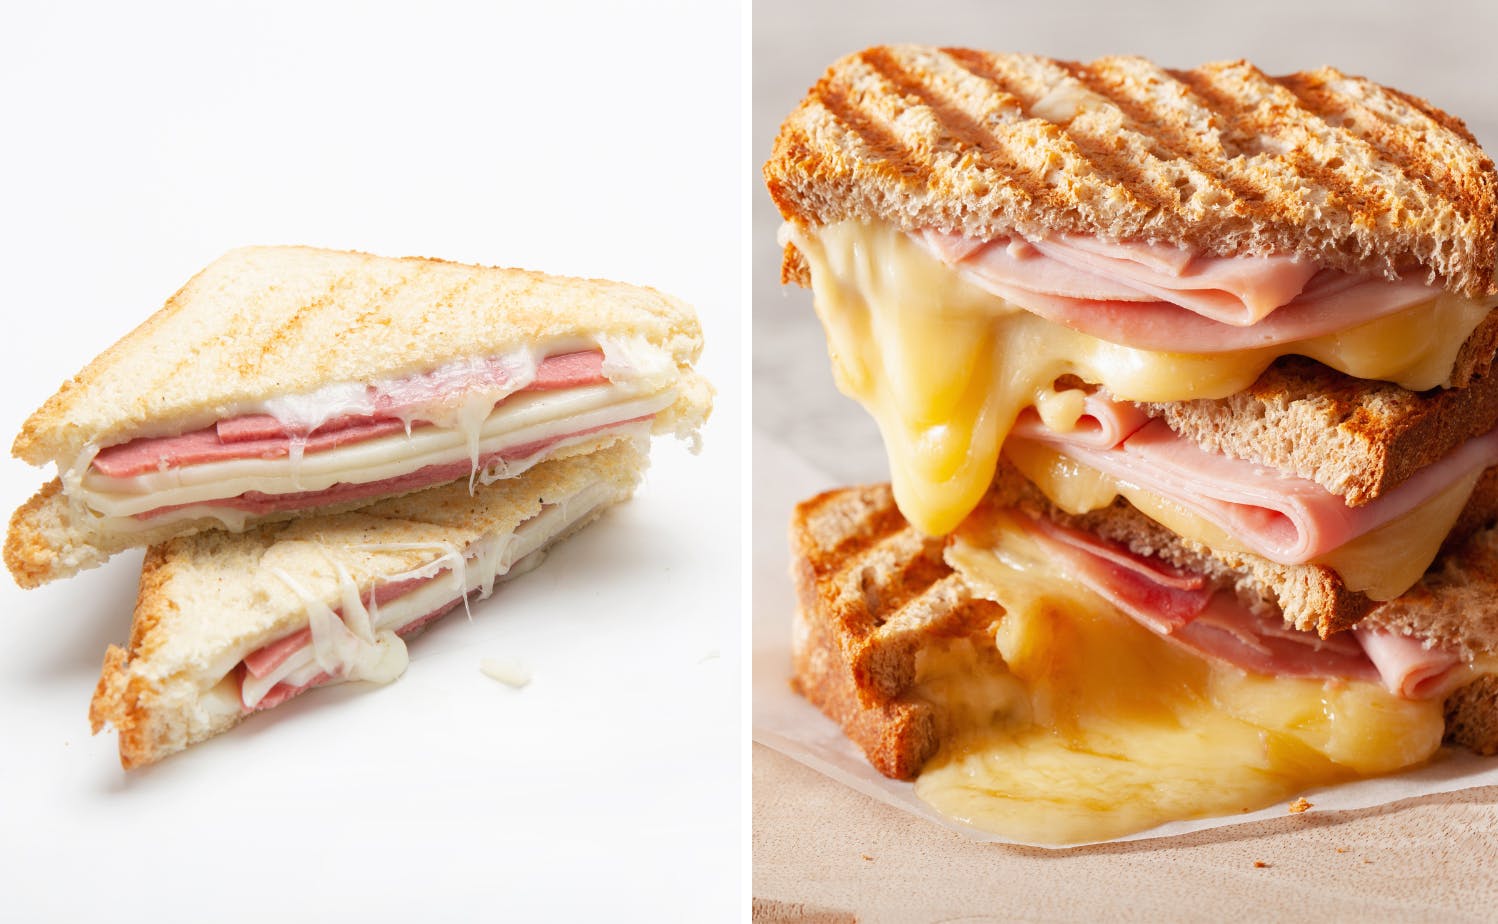
8. Post-Processing for Perfection
Editing your photos can enhance their quality significantly. Use photo editing software to adjust brightness, contrast, saturation, and sharpness. Be careful not to over-edit; the food should still look natural and appetizing.
Before-and-After Example:

9. Consistency is Key
Maintain a consistent style for all your food photos. This helps in creating a cohesive look for your menu and reinforces your brand identity. Consistency can be achieved through similar lighting, angles, and editing styles.
Before-and-After Example:
10. Test and Experiment
Don't be afraid to experiment with different techniques, angles, and settings. Test various approaches to see what works best for your food. Continuously improving and adapting your photography style will lead to better results over time.
Before-and-After Example:
Conclusion
Capturing mouth-watering food photos for your delivery app menu involves a combination of good lighting, thoughtful composition, careful styling, and effective post-processing. By following these best practices, you can create stunning images that entice customers and boost your sales. Remember, a picture is worth a thousand words, and in the case of food delivery, it could be worth thousands of orders too.